Introduction
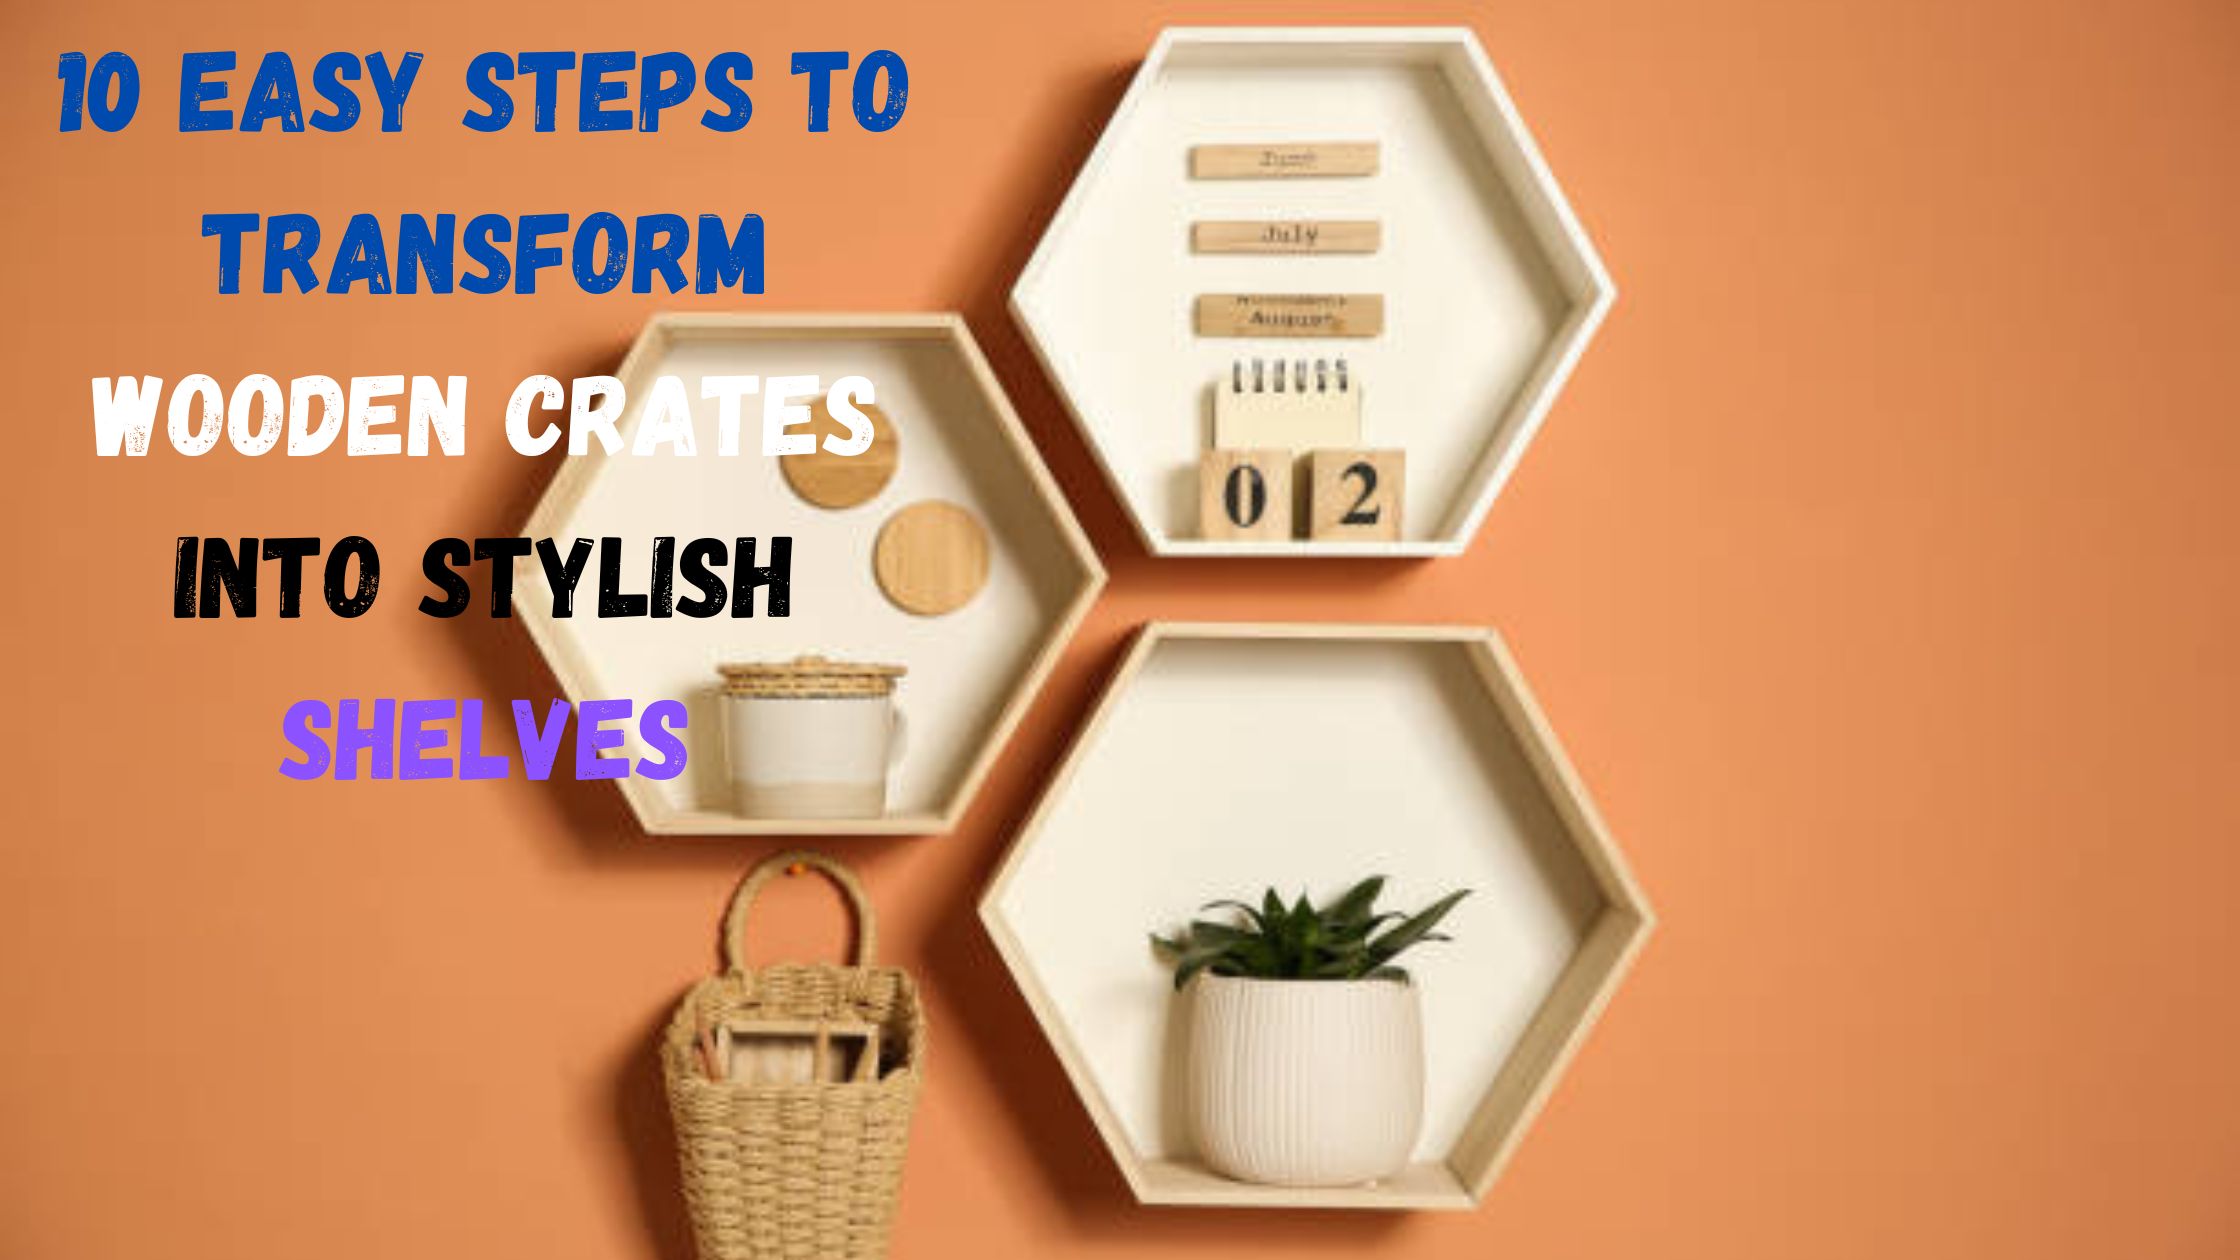
10 Easy Steps to Transform Wooden Crates into Stylish Shelves
Transforming old wooden crates into stylish shelves is a wonderful way to add a unique and rustic touch to your home decor. Here is a step-by-step guide, along with tips, benefits, trends, suggestions, a conclusion, references, and FAQs to help you create the perfect wooden crate shelves.
10 Easy Steps to Transform Wooden Crates into Stylish Shelves

Tips
- Choose Quality Crates: Ensure the crates are sturdy and free from damage.
- Plan Your Design: Visualize the layout and configuration before starting.
- Sand the Crates: Smooth out rough edges to avoid splinters.
- Prime and Paint: Use primer and paint that match your decor or leave them natural for a rustic look.
- Secure Properly: Use screws and brackets to ensure stability.
- Decorative Touches: Add decorative elements like stencils, fabric lining, or decoupage.
Benefits
- Cost-Effective: Using reclaimed crates is budget-friendly.
- Eco-Friendly: Repurposing crates reduces waste and promotes sustainability.
- Customizable: Tailor the design to fit your space and style.
- Versatile: Use in various rooms like kitchens, living rooms, and bedrooms.
- Unique Aesthetic: Adds a distinctive and personalized touch to your decor.
Trends
- Minimalist Designs: Clean lines and simple color schemes.
- Vintage Look: Using weathered crates for a nostalgic feel.
- Industrial Style: Combining metal brackets with wooden crates.
- Mixed Materials: Incorporating glass, metal, or fabric elements.
Suggestions
- Color Scheme: Choose colors that complement your existing decor.
- Placement: Consider the height and location of the shelves for accessibility.
- Functional Use: Decide whether the shelves will hold decorative items, books, or kitchenware.
- Lighting: Add LED lights to enhance the appearance of the shelves.

Steps
- Gather Materials: Old wooden crates, sandpaper, primer, paint, screws, brackets, and decorative elements.
- Clean the Crates: Wipe down to remove dirt and grime.
- Sand Thoroughly: Smooth all surfaces and edges.
- Apply Primer: Ensure even coverage.
- Paint or Stain: Choose your preferred finish.
- Arrange Layout: Plan the configuration on the floor.
- Secure Crates: Use screws and brackets to attach to the wall.
- Decorate: Add any stencils, fabric, or other decorative touches.
- Install: Mount the crates on the wall securely.
- Style Shelves: Add items and arrange to your liking.
Conclusion
Transforming wooden crates into stylish shelves is a rewarding and creative project. It not only adds character to your space but also promotes sustainability by repurposing old materials. With careful planning and a touch of creativity, you can create beautiful and functional shelves that enhance your home decor.
References
- DIY Network: How to Make Wooden Crate Shelves
- Home Depot: Wooden Crates Projects
- Pinterest: Wooden Crate Shelf Ideas
FAQs
Q: What type of paint should I use for wooden crates?

A For painting wooden crates, you have a few good options:
- Acrylic Paint: This is water-based, easy to work with, and comes in many colors. It’s great for indoor projects and gives a nice finish.
- Latex Paint: Also water-based, this paint is durable and works well for both indoor and outdoor projects. It provides good coverage and is easy to clean up.
- Chalk Paint: If you want a vintage or distressed look, chalk paint is a fantastic option. It’s easy to apply and doesn’t require much prep work.
- Spray Paint: Perfect for quick and even coverage, especially for getting into the nooks and crannies of the crate. Make sure to use it in a well-ventilated area.
Always start with a primer to ensure the paint adheres well and lasts longer. Happy painting!
Q: How do I ensure the crates are securely attached to the wall?
A: To ensure your crates are securely attached to the wall, follow these steps:
- Select the Right Hardware: Use sturdy screws and wall anchors that match the weight of the crates and the items you’ll store in them.
- Find Wall Studs: Use a stud finder to locate the wall studs, which provide the most secure mounting points. Mark the stud locations with a pencil.
- Pre-Drill Holes: Pre-drill holes in both the crate and the wall where you plan to attach them. This prevents the wood from splitting and ensures accurate screw placement.
- Use L-Brackets: Attach L-brackets to the bottom of each crate for additional support. Secure one side of the bracket to the crate and the other to the wall.
- Check for Level: Use a level to make sure the crates are perfectly horizontal before securing them. This ensures stability and a neat appearance.
- Screw Into Studs: Align the pre-drilled holes with the studs and secure the crates with screws. If a stud isn’t available, use wall anchors to provide extra support.
- Reinforce Corners: For added stability, you can reinforce the corners of the crates with metal corner brackets.
- Test Stability: Gently tug on the crates to ensure they are securely attached and don’t wobble or shift.
By following these steps, you’ll have sturdy and secure wooden crate shelves that can safely hold your items. Happy DIY-ing!
Q: Can I use these shelves in a bathroom?
A: Yes, you can definitely use wooden crate shelves in a bathroom! Here are a few tips to make sure they withstand the bathroom environment:
- Seal the Wood: Use a water-resistant sealant or varnish to protect the wood from moisture and humidity. This will help prevent warping or mold growth.
- Proper Ventilation: Ensure your bathroom has good ventilation to reduce humidity levels. This can help prolong the life of your wooden shelves.
- Regular Maintenance: Periodically check the shelves for any signs of wear or moisture damage and reapply sealant as needed.
- Placement: Avoid placing the shelves directly over the sink or tub where they may get splashed frequently.
- Use Appropriate Anchors: Make sure to use suitable wall anchors and screws to securely attach the shelves, considering the weight of the items you plan to store.
By taking these precautions, your wooden crate shelves should serve you well in the bathroom, adding a rustic and stylish touch! Enjoy your project!
I hope you find this guide helpful and inspiring for your DIY project! Feel free to ask if you have any more questions.