

Introduction
9 Family Photo Editing Tips for Professional-Looking Pictures
Family photographs capture some of the most significant moments in life, ranging from birthdays and holidays to relaxed weekends and special occasions. Nevertheless, even a well-composed family photo may require some editing to achieve its optimal appearance. Family photo editing can enhance lighting, adjust colors, eliminate distractions, and provide a refined look while maintaining the photograph’s natural essence.
You do not have to be a professional photographer or an expert editor to enhance your family images. By employing the right techniques and applying a subtle editing approach, you can transform ordinary snapshots into professional-quality photographs that are ideal for albums, frames, social media, and cherished family memories.
In this guide, you will find 9 family photo editing tips for achieving professional-looking images that are practical, beginner-friendly, and relevant in 2026.
Why This Topic Matters
Family photographs frequently feature numerous individuals, varying skin tones, diverse lighting conditions, and potentially distracting backgrounds. Minor editing modifications can greatly enhance the final image.
source: istock
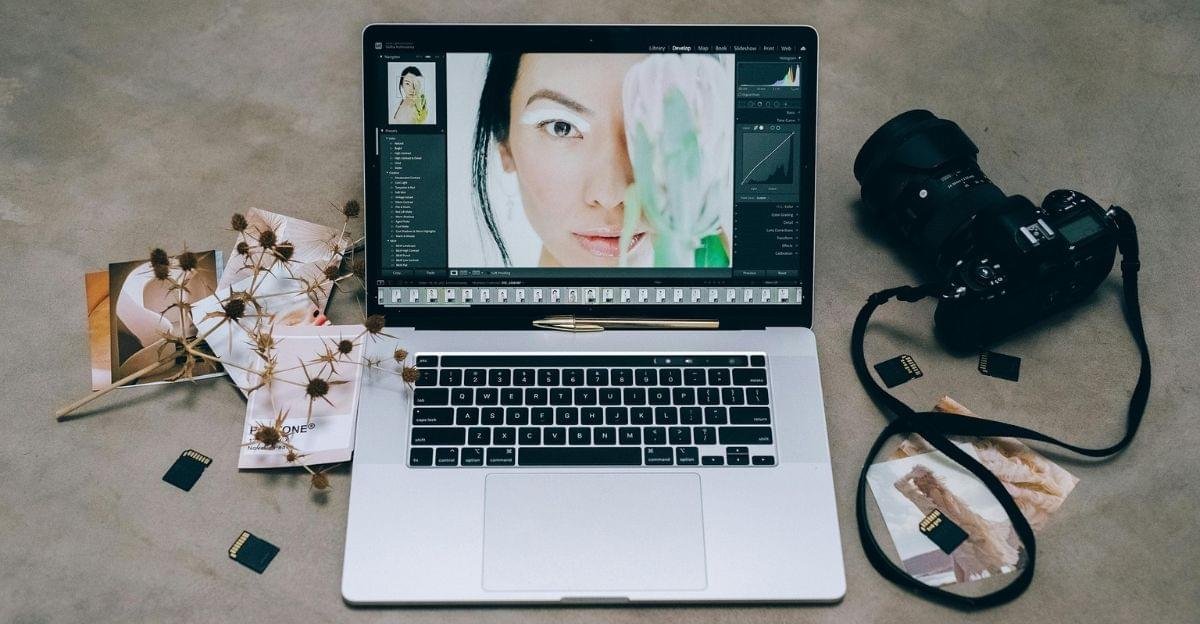
Acquiring fundamental photo editing skills can assist you in:
- Enhancing brightness and exposure.
- Making colors appear more authentic.
- Maintaining realistic skin tones.
- Minimizing unwanted distractions.
- Establishing a uniform appearance throughout a collection of photos.
- Preparing images for printing or online sharing.
- Presenting cherished family memories in a more refined manner.
The objective is not to render every photograph artificial. Effective family photo editing should amplify the original moment instead of altering it entirely.
9 Family Photo Editing Tips for Professional-Looking Pictures
1. Begin With a High-Quality Original
| What to Check | Why It Matters | What to Do |
|---|---|---|
| Image Resolution | Preserves detail and quality | Choose the highest-resolution original |
| Focus & Sharpness | Keeps faces and important details clear | Select the sharpest version |
| Exposure | Ensures balanced lighting | Avoid extremely dark or bright images |
| Composition | Creates a better visual balance | Check framing before editing |
| Family Members | Ensures everyone is visible | Confirm no one is accidentally cropped |
| Unwanted Blur | Reduces distracting softness | Select a clearer version when available |
| Original Backup | Protects the untouched image | Save a copy before major edits |
Pro Tip: Always retain an untouched copy of the original photograph.
2. Adjust Exposure and Brightness Initially
| Adjustment | Main Purpose | Editing Tip |
|---|---|---|
| Exposure | Controls overall light | Make small adjustments |
| Brightness | Improves overall visibility | Avoid making the image too bright |
| Highlights | Recovers bright areas | Reduce highlights when details are lost |
| Shadows | Reveals darker details | Lift shadows gently |
| Contrast | Adds depth and definition | Use moderate contrast |
| Final Check | Maintains natural appearance | Compare edited photo with the original |
Tip: Make gradual adjustments and regularly compare your edited image with the original.
3. Maintain Natural Skin Tones
| Editing Area | Potential Problem | Best Practice |
|---|---|---|
| Saturation | Skin may appear overly colorful | Keep saturation moderate |
| White Balance | Can create unnatural skin colors | Adjust carefully |
| Temperature | May make skin too warm or cool | Use subtle changes |
| Skin Tone Review | Family members may have different tones | Check everyone’s face |
| Screen Brightness | Colors can look different on screens | Review at different brightness levels |
| Final Appearance | Faces may look artificial | Preserve natural-looking skin |
Key Goal: Make sure family members still look like themselves after editing.
4. Enhance White Balance and Colors
| Adjustment | What It Controls | Recommended Approach |
|---|---|---|
| White Balance | Overall color temperature | Correct unwanted color casts |
| Vibrance | Subdued colors | Increase gently for a natural boost |
| Saturation | Overall color intensity | Avoid excessive adjustment |
| Temperature | Warm or cool appearance | Correct yellow, orange, or blue tones |
| Tint | Green or magenta balance | Make subtle corrections |
Tip: Use vibrance when you want to enhance muted colors without making the entire photograph overly saturated.
5. Crop and Straighten the Photograph
| Crop/Editing Option | Best Use | Important Consideration |
|---|---|---|
| Square | Social media posts | Keep the family centered |
| 4:5 | Portrait-oriented posts | Preserve important subjects |
| 16:9 | Digital displays | Consider the wider composition |
| Print Ratio | Albums and frames | Match the intended print size |
| Straighten Tool | Slanted horizons or walls | Align architectural lines |
| Edge Cropping | Removes unnecessary areas | Avoid cutting heads, hands, or feet |
Tip: Crop carefully so the photograph remains naturally balanced.

6. Remove Small Background Distractions
| Background Distraction | Editing Solution | Caution |
|---|---|---|
| Trash Cans | Object-removal tool | Remove only when necessary |
| Electrical Wires | Healing or removal tool | Preserve the natural background |
| Random Objects | Clone or healing tool | Avoid excessive editing |
| Cluttered Tables | Object-removal feature | Don’t alter important objects |
| Unwanted Signs | Removal tool | Check surrounding details afterward |
| Small Blemishes | Healing tool | Keep corrections subtle |
Key Tip: Remove distractions that take attention away from the family, but avoid making the background look artificial.
7. Enhance Subtle Sharpness and Reduce Noise
| Editing Technique | Benefit | Avoid |
|---|---|---|
| Sharpening | Improves fine details | Excessive harsh edges |
| Face Detail Enhancement | Adds clarity to important areas | Over-processing skin |
| Noise Reduction | Reduces low-light grain | Excessive smoothing |
| Selective Adjustments | Targets specific areas | Applying strong effects everywhere |
| Skin Preservation | Keeps portraits natural | Plastic-looking faces |
Best Approach: Use moderate sharpening and noise reduction while preserving natural skin texture.
8. Ensure Consistent Editing Across Family Photos
| Editing Element | What to Keep Consistent | Benefit |
|---|---|---|
| Brightness | Similar light levels | Creates visual harmony |
| Color Temperature | Similar warm or cool tones | Makes photos feel connected |
| Contrast | Comparable contrast levels | Prevents visual inconsistency |
| Saturation | Similar color intensity | Creates a cohesive collection |
| Cropping Style | Similar framing | Improves album presentation |
| Editing Mood | Consistent overall style | Gives the collection a professional appearance |
| Preset | Reuse basic settings | Saves time and improves consistency |
Tip: A simple editing preset can help maintain a cohesive look across an album, slideshow, or wall gallery.
9. Conclude With a Natural Final Review
| Final Question | What to Check | Desired Result |
|---|---|---|
| Do faces appear natural? | Skin tone and facial details | Authentic appearance |
| Are colors true to life? | White balance and saturation | Natural colors |
| Is the photo too bright or dark? | Exposure and shadows | Balanced lighting |
| Did I remove something important? | Background and subjects | No accidental removal |
| Is the crop balanced? | Composition and framing | Comfortable visual balance |
| Does it reflect the original moment? | Overall appearance | Authentic memory |
| How does it look zoomed out? | Overall image quality | Balanced final composition |
Final Reminder: The best family photo editing is often subtle enough that viewers simply notice a beautiful photograph—not the editing behind it.
Benefits of Professional-Looking Family Photo Editing
Learning basic editing techniques offers several advantages:

source: istock
Better Visual Quality
Correcting lighting, color, and composition can make everyday photographs look significantly better.
More Meaningful Family Albums
Consistently edited photographs can create a beautiful and organized family photo collection.
Better Social Media Images
Properly cropped and optimized photographs are more visually appealing when shared online.
Improved Print Results
Balanced exposure, accurate colors, and suitable cropping can help photographs look better when printed.
Preservation of Memories
Carefully edited photographs can help preserve important family moments in a visually pleasing format for years to come.
Latest Family Photo Editing Trends in 2026
Photo editing continues to become easier as smartphones and AI-powered editing tools become more sophisticated. Some notable trends include:
AI-Assisted Editing
AI tools can automatically improve exposure, remove distractions, enhance details, and suggest corrections. These features can save time for beginners.
Natural Retouching
Heavy filters are increasingly being replaced by subtle edits that preserve authentic facial features and natural skin texture.
Personalized Presets
Families and content creators are increasingly using customized presets to maintain a consistent visual style across multiple photographs.
Mobile-First Editing
Smartphone editing apps continue to make advanced adjustments accessible without requiring a desktop computer.
Authentic Family Photography
There is growing appreciation for candid, imperfect, and genuine family moments rather than photographs that appear overly staged or heavily edited.
Expert Suggestions for Better Family Photo Editing
Professional-looking results usually come from small, controlled adjustments rather than dramatic filters.

source: istock
Consider these expert-style practices:
- Always preserve the original photograph.
- Adjust exposure before color grading.
- Prioritize natural-looking skin tones.
- Avoid excessive smoothing.
- Use cropping to strengthen composition.
- Remove only genuinely distracting objects.
- Compare the edited image with the original regularly.
- Edit a group of photographs consistently.
- Export according to the final purpose—printing, web use, or social media.
If the photograph is particularly important, such as a wedding, anniversary, or milestone family portrait, consider keeping both the original and edited versions.
Common Mistakes to Avoid
1. Overusing Filters
Strong filters can quickly make a family photograph look artificial.
2. Making Skin Too Smooth
Excessive retouching can remove natural facial details and expressions.
3. Increasing Saturation Too Much
Highly saturated colors can distract from the people in the photograph.
4. Ignoring White Balance
A strong yellow or blue color cast can make otherwise good photographs look unnatural.
5. Cropping Too Aggressively
Cutting off heads, hands, feet, or important background elements can weaken the composition.
6. Over-Sharpening
Excessive sharpening may create harsh outlines and emphasize imperfections.
7. Editing Without Comparing the Original
Without checking the original, it is easy to make adjustments that go too far.
8. Using Different Styles for Every Photograph
Inconsistent editing can make a family album look disorganized.
9. Forgetting Image Quality During Export
Saving at unnecessarily low quality can reduce detail and make printed photographs look poor.
Conclusion
Editing family photographs does not have to be complicated. By starting with a quality original and making careful adjustments to exposure, color, skin tones, composition, sharpness, and distracting backgrounds, you can create photographs that look polished while remaining authentic.
The most important principle is moderation. Instead of transforming a family photograph completely, use editing to bring out the beauty that was already captured. With these 9 family photo editing tips, you can create professional-looking pictures that preserve genuine expressions and meaningful memories for years to come.
References
For additional photography and editing guidance, readers can explore reputable resources such as:
- Adobe photography and photo-editing resources.
- Apple Photos user guides.
- Google Photos Help.
- Nikon photography education resources.
- Canon photography learning resources.
FAQs
1. What is the most important family photo editing tip?
Correcting exposure and white balance is a great starting point because proper lighting and color can immediately improve a photograph.
2. How can I make family photos look professional?
Use subtle adjustments to exposure, color, cropping, sharpness, and distractions while keeping skin tones and facial features natural.
3. Should I use filters on family photographs?
You can use filters, but subtle presets are generally better for maintaining a natural and timeless appearance.
4. Can AI edit family photographs?
Yes. Modern AI-powered photo editors can assist with tasks such as lighting correction, object removal, background editing, and image enhancement. However, manually reviewing the result is important.
5. How do I edit skin tones naturally?
Use small white-balance and color adjustments and avoid excessive saturation or skin smoothing.
6. Should I keep the original family photographs?
Absolutely. Keep an untouched backup of important original photographs before making significant edits.
7. What is the best format for printing family photos?
Use a high-resolution image and choose the appropriate aspect ratio for the frame or print size. Avoid repeatedly saving and compressing the same image.
8. How can I edit many family photos consistently?
Use presets or repeat the same basic adjustments across the collection. Then make individual corrections where lighting or composition differs.
9. Is professional photo-editing software necessary?
Not always. Many modern smartphone and desktop editing applications provide sufficient tools for producing excellent family photographs.
10. What is the biggest photo-editing mistake?
Over-editing is one of the biggest mistakes. A professional-looking family photograph should enhance the memory without making people or colors look artificial.