
Introduction
5 Easy Steps to Create Floating Shelves from Reclaimed Wood
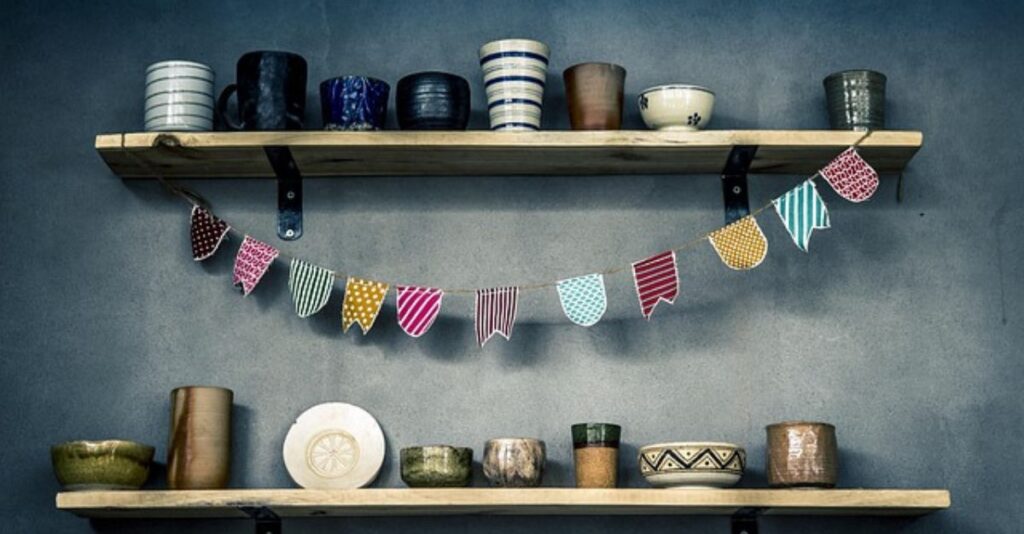
Floating shelves made from reclaimed wood are a perfect way to add rustic charm and functional storage to any space. Not only do they offer a unique aesthetic, but they are also an eco-friendly choice. Follow these five easy steps to create your own stylish floating shelves from reclaimed wood.
5 Easy Steps to Create Floating Shelves from Reclaimed Wood
1. Gather Your Materials
Before you start, collect the necessary materials:
- Reclaimed wood planks
- Floating shelf brackets
- Measuring tape
- Saw
- Sandpaper
- Wood stain or sealant
- Drill and screws
- Level
2. Measure and Cut the Wood
Measure the space where you want to install the shelves. Mark and cut the reclaimed wood planks to your desired length. Use sandpaper to smooth the edges and remove any rough spots.
3. Prepare the Wood
If you want a polished look, apply wood stain or sealant to enhance the wood’s natural beauty and protect it from wear. Let it dry completely before proceeding.
4. Install the Brackets
Use a level to mark where the floating shelf brackets should be placed on the wall. Drill holes and secure the brackets using screws. Ensure they are evenly spaced and sturdy to support the weight of the shelves.
5. Attach the Shelves
Carefully place the reclaimed wood planks onto the brackets. Secure them with additional screws if necessary. Double-check that they are level before adding décor or storage items.
Tips for a Perfect Finish
A perfect finish on floating shelves ensures they look stylish, polished, and durable. Here are some expert tips to achieve a professional look:

1. Choose the Right Material
- Use high-quality wood (e.g., oak, walnut, or plywood with veneer) for a smooth finish.
- If using MDF, ensure it’s properly sealed before painting.
2. Sand Properly
- Start with medium-grit (120-150) sandpaper and move to fine-grit (220-320) for a smooth finish.
- Always sand in the direction of the grain to prevent scratches.
3. Apply a Primer
- If painting, use a high-quality primer to help the paint adhere better and prevent blotches.
- For stained wood, use a wood conditioner before applying stain to ensure even absorption.
4. Use High-Quality Paint or Stain
- For painting: Choose durable latex or oil-based paint with a satin or semi-gloss finish.
- For staining: Apply an even coat, let it sit for a few minutes, then wipe off excess stain with a clean cloth.
5. Apply Multiple Thin Coats
- Whether painting or staining, thin layers prevent drips and uneven coverage.
- Allow each coat to dry completely before applying the next one.
6. Seal for Protection
- Use polyurethane (for stained shelves) or polycrylic (for painted shelves) to protect against scratches and moisture.
- A matte or satin finish keeps it looking natural, while gloss adds shine.
7. Install with Precision
- Use hidden brackets or strong wall anchors to ensure a seamless floating effect.
- Use a level to make sure they are straight before securing them.
8. Final Touches
- Wipe down the shelves with a microfiber cloth to remove dust.
- Avoid placing heavy items until the finish has fully cured (24-48 hours).
Maintain reclaimed wood shelves
Maintaining reclaimed wood shelves ensures they stay beautiful and durable for years. Here are some essential care tips:
1. Regular Dusting
- Use a soft microfiber cloth or feather duster to remove dust.
- Avoid harsh brushes that can scratch the wood.
2. Gentle Cleaning
- Use a damp (not wet) cloth with mild soap and water for routine cleaning.
- Avoid strong chemical cleaners, as they can strip the natural patina.
3. Protect Against Moisture
- Wipe spills immediately to prevent warping or staining.
- In humid areas, use a wood sealant or apply beeswax to add a protective barrier.
4. Prevent Scratches and Dents
- Use felt pads under decorative items or books.
- Avoid dragging heavy objects across the surface.
5. Maintain the Finish
- If the wood looks dry, apply linseed oil, tung oil, or a natural beeswax polish to restore its luster.
- For stained or sealed wood, reapply a protective coat every 1-2 years.
6. Protect from Sun Damage
- Keep shelves out of direct sunlight to prevent fading and drying.
- Use UV-protective finishes if placed near windows.
7. Inspect for Pests
- Reclaimed wood can sometimes attract insects like termites.
- If you notice small holes or sawdust, treat with borate-based wood preservatives.
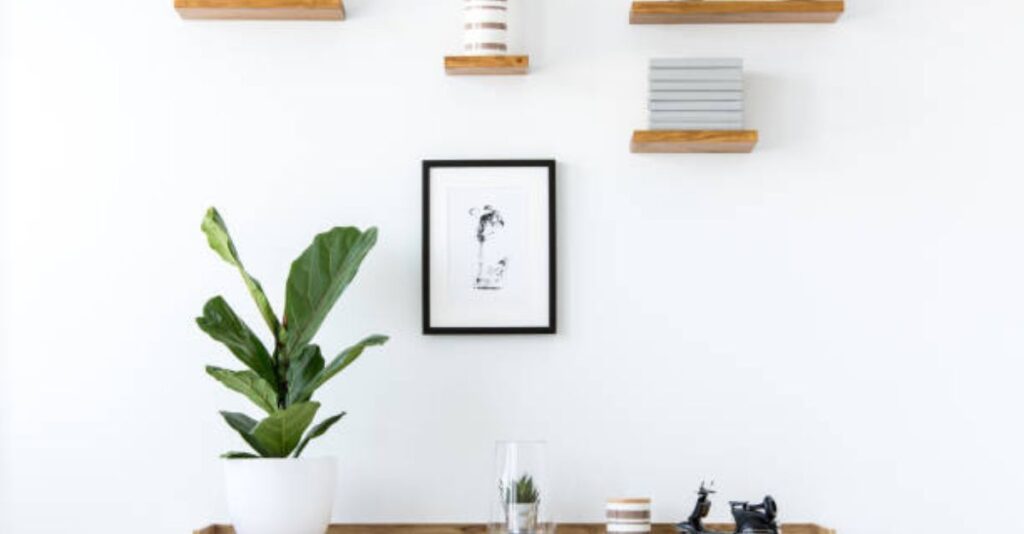
Trending Designs for Floating Shelves
Floating shelves are a stylish and functional way to enhance home decor. Here are some trending designs for 2025:
1. Minimalist Wood Shelves
- Simple, sleek designs with natural wood finishes like oak, walnut, or pine.
- Ideal for modern, Scandinavian, and Japandi-style interiors.
2. Industrial Metal Brackets
- Black or bronze metal supports with wooden planks.
- Perfect for rustic, farmhouse, or industrial-themed spaces.
3. Geometric and Asymmetrical Shelves
- Unique hexagonal, zigzag, or staggered layouts.
- Adds an artistic touch to any room.
4. Glass Floating Shelves
- Gives a sleek, airy feel, especially in bathrooms and kitchens.
- Works well in modern and contemporary settings.
5. Invisible Brackets (Seamless Look)
- Hidden hardware for a true floating effect.
- Ideal for minimalist and contemporary decor.
6. Live Edge Wood Shelves
- Uses natural, unfinished edges to showcase wood’s raw beauty.
- Great for rustic, boho, or organic interiors.
7. LED-Lit Floating Shelves
- Integrated lighting adds ambiance and functionality.
- Works well in bedrooms, living rooms, and gaming setups.
8. Multi-Tiered & Layered Shelving
- Stacked designs for more storage while maintaining aesthetics.
- Useful for books, plants, and decor items.
9. Floating Corner Shelves
- Maximizes space in small rooms or awkward corners.
- Great for displaying small plants, candles, or decorative pieces.
10. Mixed-Material Shelves
- Combines wood, metal, glass, or even concrete for a unique look.
- Blends well with modern and eclectic interiors.
Conclusion
Floating shelves from reclaimed wood are a stylish and sustainable way to enhance your home’s décor. With just a few materials and simple steps, you can create a unique and functional storage solution. Whether for books, plants, or decorative pieces, these shelves add both beauty and practicality to any space. Start your DIY project today and enjoy the beauty of handcrafted shelving!
Frequently Asked Questions (FAQs)
Q1: Is reclaimed wood strong enough for floating shelves?
A: Yes, as long as the wood is properly treated and supported with sturdy brackets, reclaimed wood can be highly durable.
Q2: Can I install floating shelves on drywall?
A: Yes, but it’s recommended to use wall anchors or find studs for better support.
Q3: How do I maintain reclaimed wood shelves?
A: Regularly dust and occasionally apply wood conditioner to keep the wood from drying out.
References
- DIY Woodworking Guides – www.diywoodworkingtips.com
- Home Décor Trends 2025 – www.homedecortrends.com
- Sustainable Living Magazine – www.sustainableliving.com