


Introduction
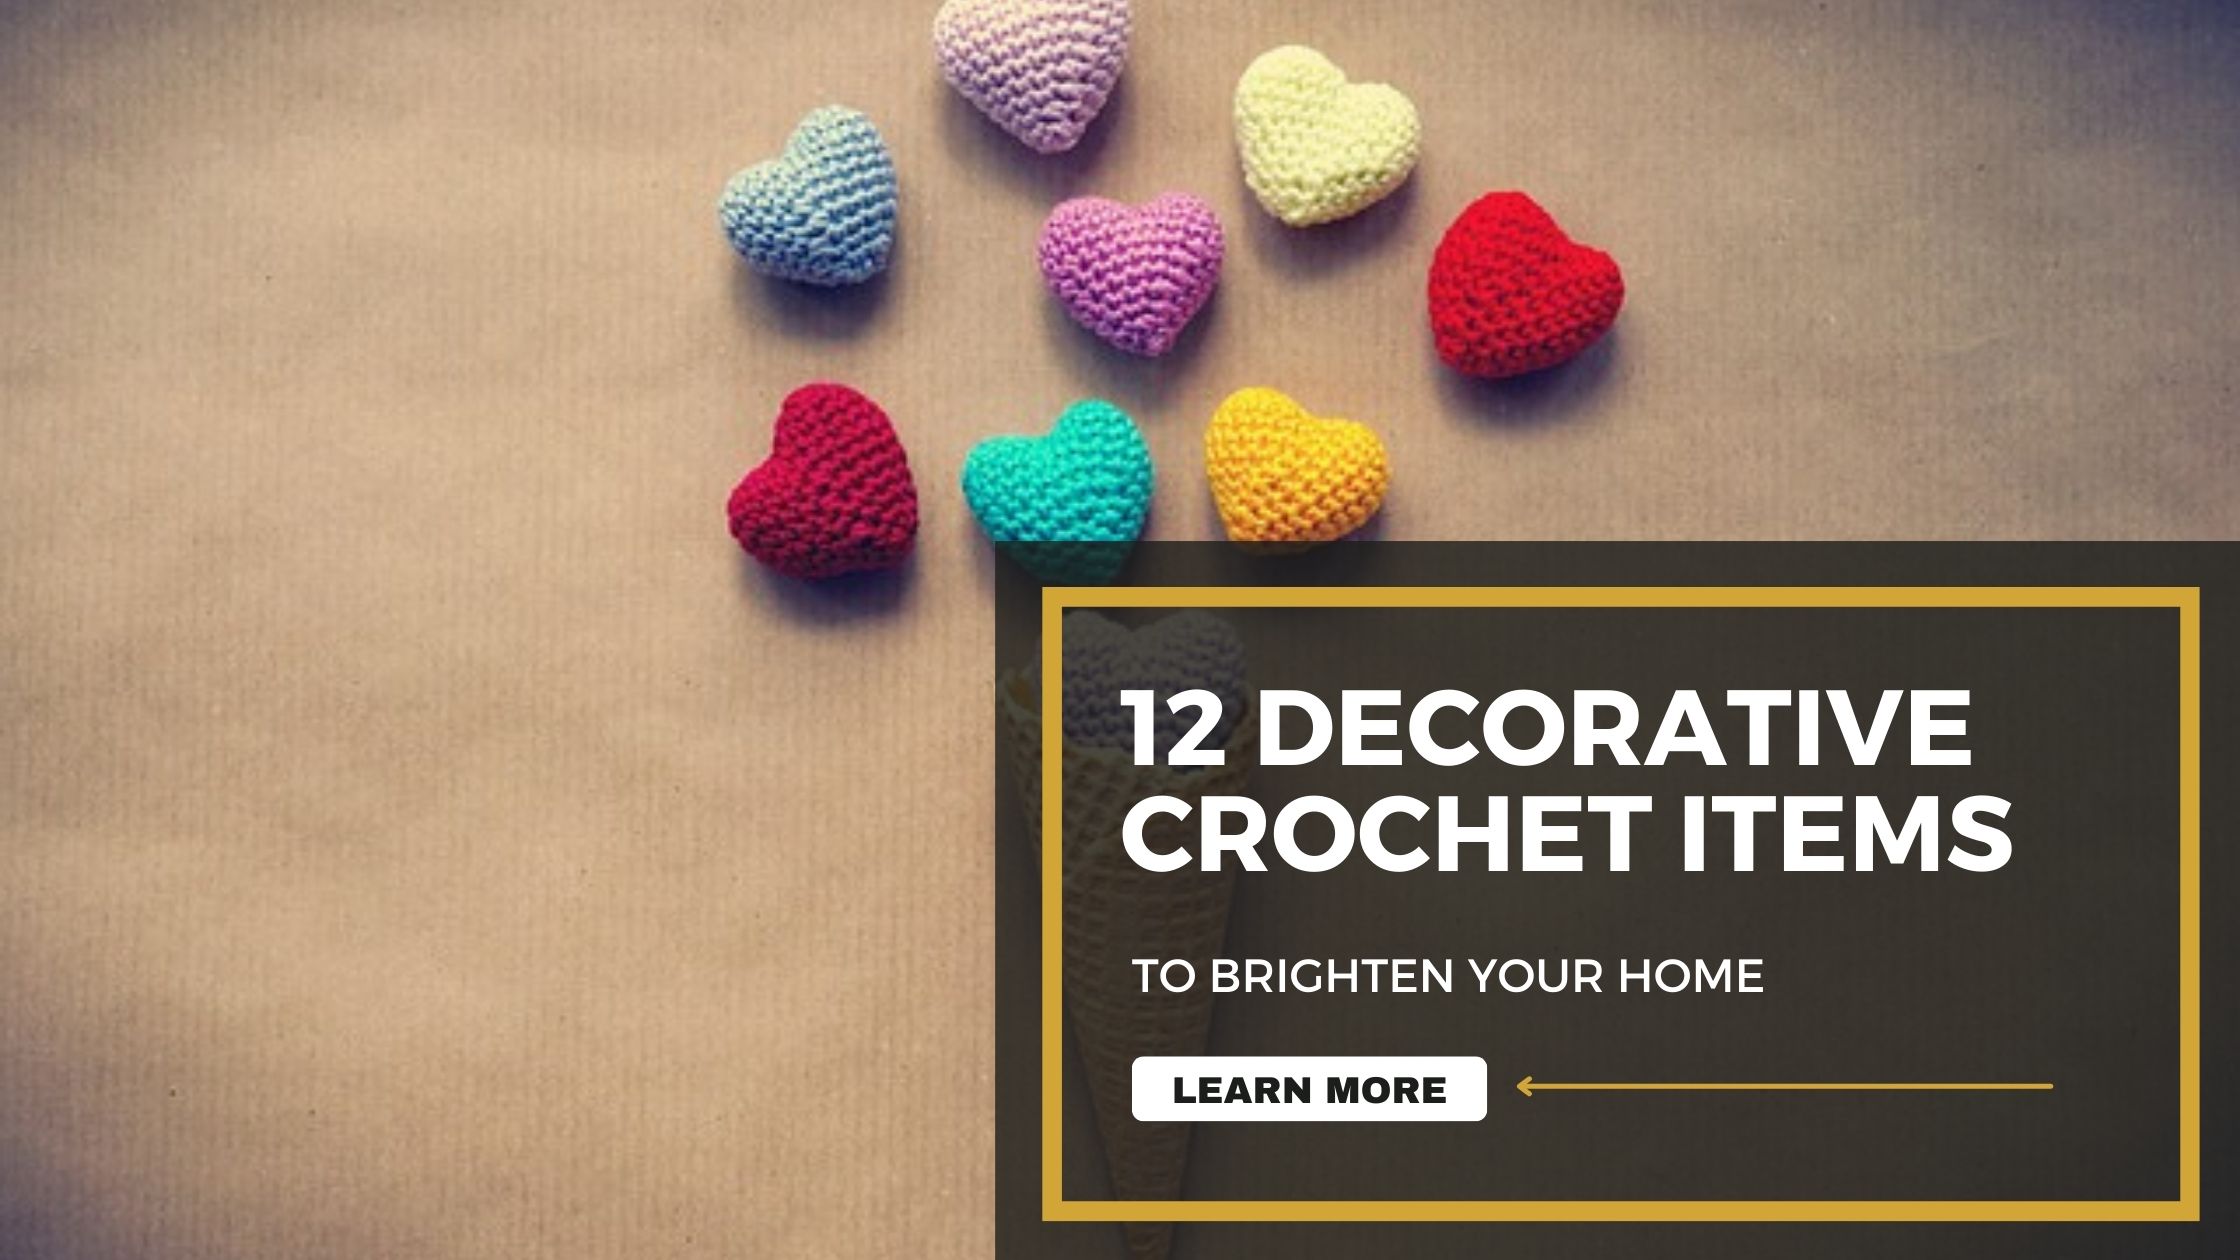
12 Handmade Gift Ideas Using Yarn and Needles
Handmade gifts always carry a personal touch that makes them extra special. If you’re looking to create unique and thoughtful gifts for your loved ones, yarn and needles are fantastic tools to craft something beautiful and meaningful. Whether you’re a beginner or an experienced crafter, there are endless possibilities when it comes to creating gifts using yarn and needles. Here are 12 creative handmade gift ideas that will impress your friends and family.
12 Handmade Gift Ideas Using Yarn and Needles

1. Knitted Scarf
A cozy knitted scarf is a classic gift that never goes out of style. Choose a soft, high-quality yarn in your recipient’s favorite color, and create a warm, stylish accessory. You can experiment with different stitch patterns to add texture and flair.
2. Crochet Blanket
A handmade crochet blanket is a wonderful gift for any occasion. With a little patience, you can create a blanket in a variety of patterns and colors. A soft, chunky yarn will make it extra cozy and perfect for snuggling.
3. Knitted Mittens
Warm mittens are a thoughtful gift for the colder months. You can knit mittens in different styles, from fingerless to full gloves, using a variety of yarns. Add decorative elements like buttons or pom-poms for a personal touch.
4. Crochet Coasters
Crocheted coasters are practical yet stylish gifts that anyone can use. Use colorful yarn to create a set of coasters in fun, unique designs. These small projects are perfect for beginners and can be completed quickly.
5. Yarn Wrapped Photo Frame
A photo frame wrapped in yarn adds a handmade touch to any home decor. Choose yarn in a color that complements the recipient’s space and wrap it around a simple wooden frame. You can even add embellishments like buttons or beads for extra detail.
6. Knitted Headband
A knitted headband is an easy and stylish gift that works well in colder weather. You can knit a basic design or experiment with more intricate patterns. Add a cute flower or button to make it even more unique.
7. Crochet Basket
A crochet basket is a practical gift that can be used for organizing small items like keys, coins, or makeup. Choose sturdy yarn and crochet a small, functional basket that can be placed on a desk or bedside table.
8. Knitted Shawl
A knitted shawl is a beautiful and versatile gift that can be worn in various ways. Choose a lightweight yarn for a more delicate look, or opt for a chunky yarn for added warmth. A shawl can be draped over the shoulders or worn as a scarf.
9. Crochet Plant Hanger
For plant lovers, a crochet plant hanger is a great handmade gift. Use strong yarn to create a stylish hanger that can hold small to medium-sized plants. This gift will brighten up any home and add a touch of boho charm.
10. Yarn Pom-Pom Keychain
A yarn pom-pom keychain is a fun and easy-to-make gift. You can create pom-poms in a variety of sizes and colors, then attach them to key rings or zipper pulls. These colorful keychains are a great addition to bags or backpacks.
11. Knitted Socks
Knitted socks are a thoughtful and cozy gift for loved ones. Use soft, warm yarn to knit a pair of socks that will keep feet toasty during the winter months. You can personalize them with different stitch patterns or colors.
12. Crochet Flower Brooch
A crochet flower brooch is a charming gift that can be worn on a jacket, scarf, or hat. Choose vibrant yarn and crochet a flower in your recipient’s favorite color. You can also add beads or buttons to the center for added detail.
Tips for Making Handmade Gifts with Yarn and Needles
- Choose the Right Yarn: Select yarn that suits both the project and the recipient’s preferences. Soft, natural fibers like merino wool are perfect for cozy accessories, while sturdier fibers like cotton work well for home decor items.
- Start Simple: If you’re a beginner, begin with basic patterns such as scarves, coasters, or simple keychains. This will help you build your skills and gain confidence before tackling more complex projects.
- Use Quality Needles: The right needles can make a huge difference in your crafting experience. Choose needles that are comfortable to hold and appropriate for the thickness of your yarn. For beginners, bamboo or wooden needles are often easier to handle.
- Pay Attention to Tension: Consistent tension is key to making your project look neat and professional. If your stitches are too tight or too loose, your finished product may look uneven. Practice to find a comfortable tension that works for you.
- Experiment with Colors and Patterns: Don’t be afraid to mix different yarn colors and textures. A combination of yarns can make your project stand out and add an extra touch of personality. You can also experiment with stitch patterns to add depth and interest to your gift.
- Consider the Recipient’s Preferences: Think about the recipient’s style and needs when selecting your project. If they love bright colors, opt for a vibrant yarn for a scarf or blanket. If they appreciate functional items, consider making a crochet basket or a set of coasters.
- Add Personal Touches: To make your gift extra special, personalize it by adding unique details such as buttons, beads, or embroidery. This can transform a simple project into something truly one-of-a-kind.
- Plan Ahead: Handmade gifts take time, so start early to ensure you have enough time to complete your project. If you’re making a large item like a blanket or shawl, break it down into smaller sections and work on it over time.
- Practice and Patience: Crafting with yarn and needles requires practice. Be patient with yourself and don’t be discouraged if your first few projects don’t turn out perfect. The more you practice, the better your creations will become.
- Use Free Online Resources: There are countless tutorials, patterns, and videos available online to help you learn new techniques and find inspiration for your next project. Websites like Ravelry and YouTube offer great resources for beginners and experienced crafters alike.
Benefits of Handmade Gifts Using Yarn and Needles
- Personal Touch: Handmade gifts are often more meaningful because they show the time, effort, and thought you put into creating something special. A gift made by hand feels personal and heartfelt, making it more memorable for the recipient.
- Customization: When you create a gift using yarn and needles, you can tailor it to the recipient’s style, favorite colors, and needs. This level of customization is difficult to achieve with store-bought items.
- Creative Expression: Crafting with yarn allows you to express your creativity. Whether you’re experimenting with different stitch patterns, colors, or textures, each project gives you the opportunity to explore new techniques and ideas.
- Stress Relief: Knitting and crocheting can be incredibly relaxing and therapeutic. The repetitive motions can help reduce stress, improve focus, and provide a sense of calm. It’s a great way to unwind while creating something beautiful.
- Sustainability: Handmade gifts are often more sustainable than mass-produced items. By using high-quality yarn and needles, you’re contributing to a more eco-friendly lifestyle. Additionally, many yarns are made from natural, renewable fibers, making them a better choice for the environment.
- Cost-Effective: While buying gifts can be expensive, crafting your own gifts using yarn and needles can be much more affordable. A skein of yarn can go a long way, allowing you to make several items for a fraction of the cost of store-bought gifts.
- Skill Development: Making gifts with yarn and needles is a great way to develop new skills. Whether you’re learning how to crochet, knit, or follow a pattern, you’re constantly improving your craft. Over time, you’ll become more skilled and confident in your abilities.
- Lasting Gifts: Handmade gifts tend to be more durable and long-lasting. If made with care, items like knitted scarves, crocheted blankets, or yarn-wrapped frames can be cherished for years to come.
- Gift for All Ages: Yarn and needles can be used to create gifts for people of all ages. From soft baby blankets to cozy socks for grandparents, there’s a handmade yarn gift suitable for everyone on your list.
- Bonding Experience: If you make these gifts for friends or family, crafting together can be a fun and bonding experience. You can teach others how to knit or crochet, share patterns, and even create gifts together for a shared purpose.
By following these tips and enjoying the benefits of crafting with yarn and needles, you’ll be able to create thoughtful, beautiful, and lasting handmade gifts that are sure to delight your loved ones.
Conclusion
Creating handmade gifts with yarn and needles is a rewarding and heartfelt way to show your appreciation for someone. These 12 ideas offer a wide range of options for different occasions, from cozy scarves to practical plant hangers. With a little creativity and time, you can make beautiful, personalized gifts that your loved ones will cherish for years to come.
References:
- Yarn Craft Ideas for Beginners – Craftsy.com
- Handmade Gift Ideas for Every Occasion – MarthaStewart.com
- Knitting and Crochet Projects – Ravelry.com
- Easy Crochet Patterns – AllFreeCrochet.com
FAQs
Q1: What type of yarn is best for knitting gifts? A1: The best yarn for knitting gifts depends on the project and the recipient’s preferences. For scarves, blankets, and shawls, soft yarn like merino wool or acrylic blends is ideal. For mittens and socks, a wool or wool blend provides warmth and durability.
Q2: How long does it take to make a knitted scarf? A2: The time it takes to knit a scarf varies depending on the complexity of the pattern and your knitting speed. A basic scarf can take a few hours to a few days, while a more intricate design may take longer.
Q3: Can beginners make these gifts? A3: Yes! Many of these gift ideas are beginner-friendly, such as crocheted coasters, yarn pom-pom keychains, and knitted headbands. Choose simple patterns to start, and as you gain experience, you can tackle more complex projects.
Q4: Can I use yarn for non-clothing gifts? A4: Absolutely! Yarn is incredibly versatile and can be used to make a variety of non-clothing gifts, such as photo frames, baskets, and plant hangers. Let your creativity guide you!
Q5: How do I make sure my handmade gift lasts? A5: To ensure your handmade gift lasts, choose high-quality yarn and follow care instructions for washing and storing the item. If you’re giving a gift like a blanket or scarf, consider adding a care tag with washing instructions to keep it in great condition.