


🌟 Introduction
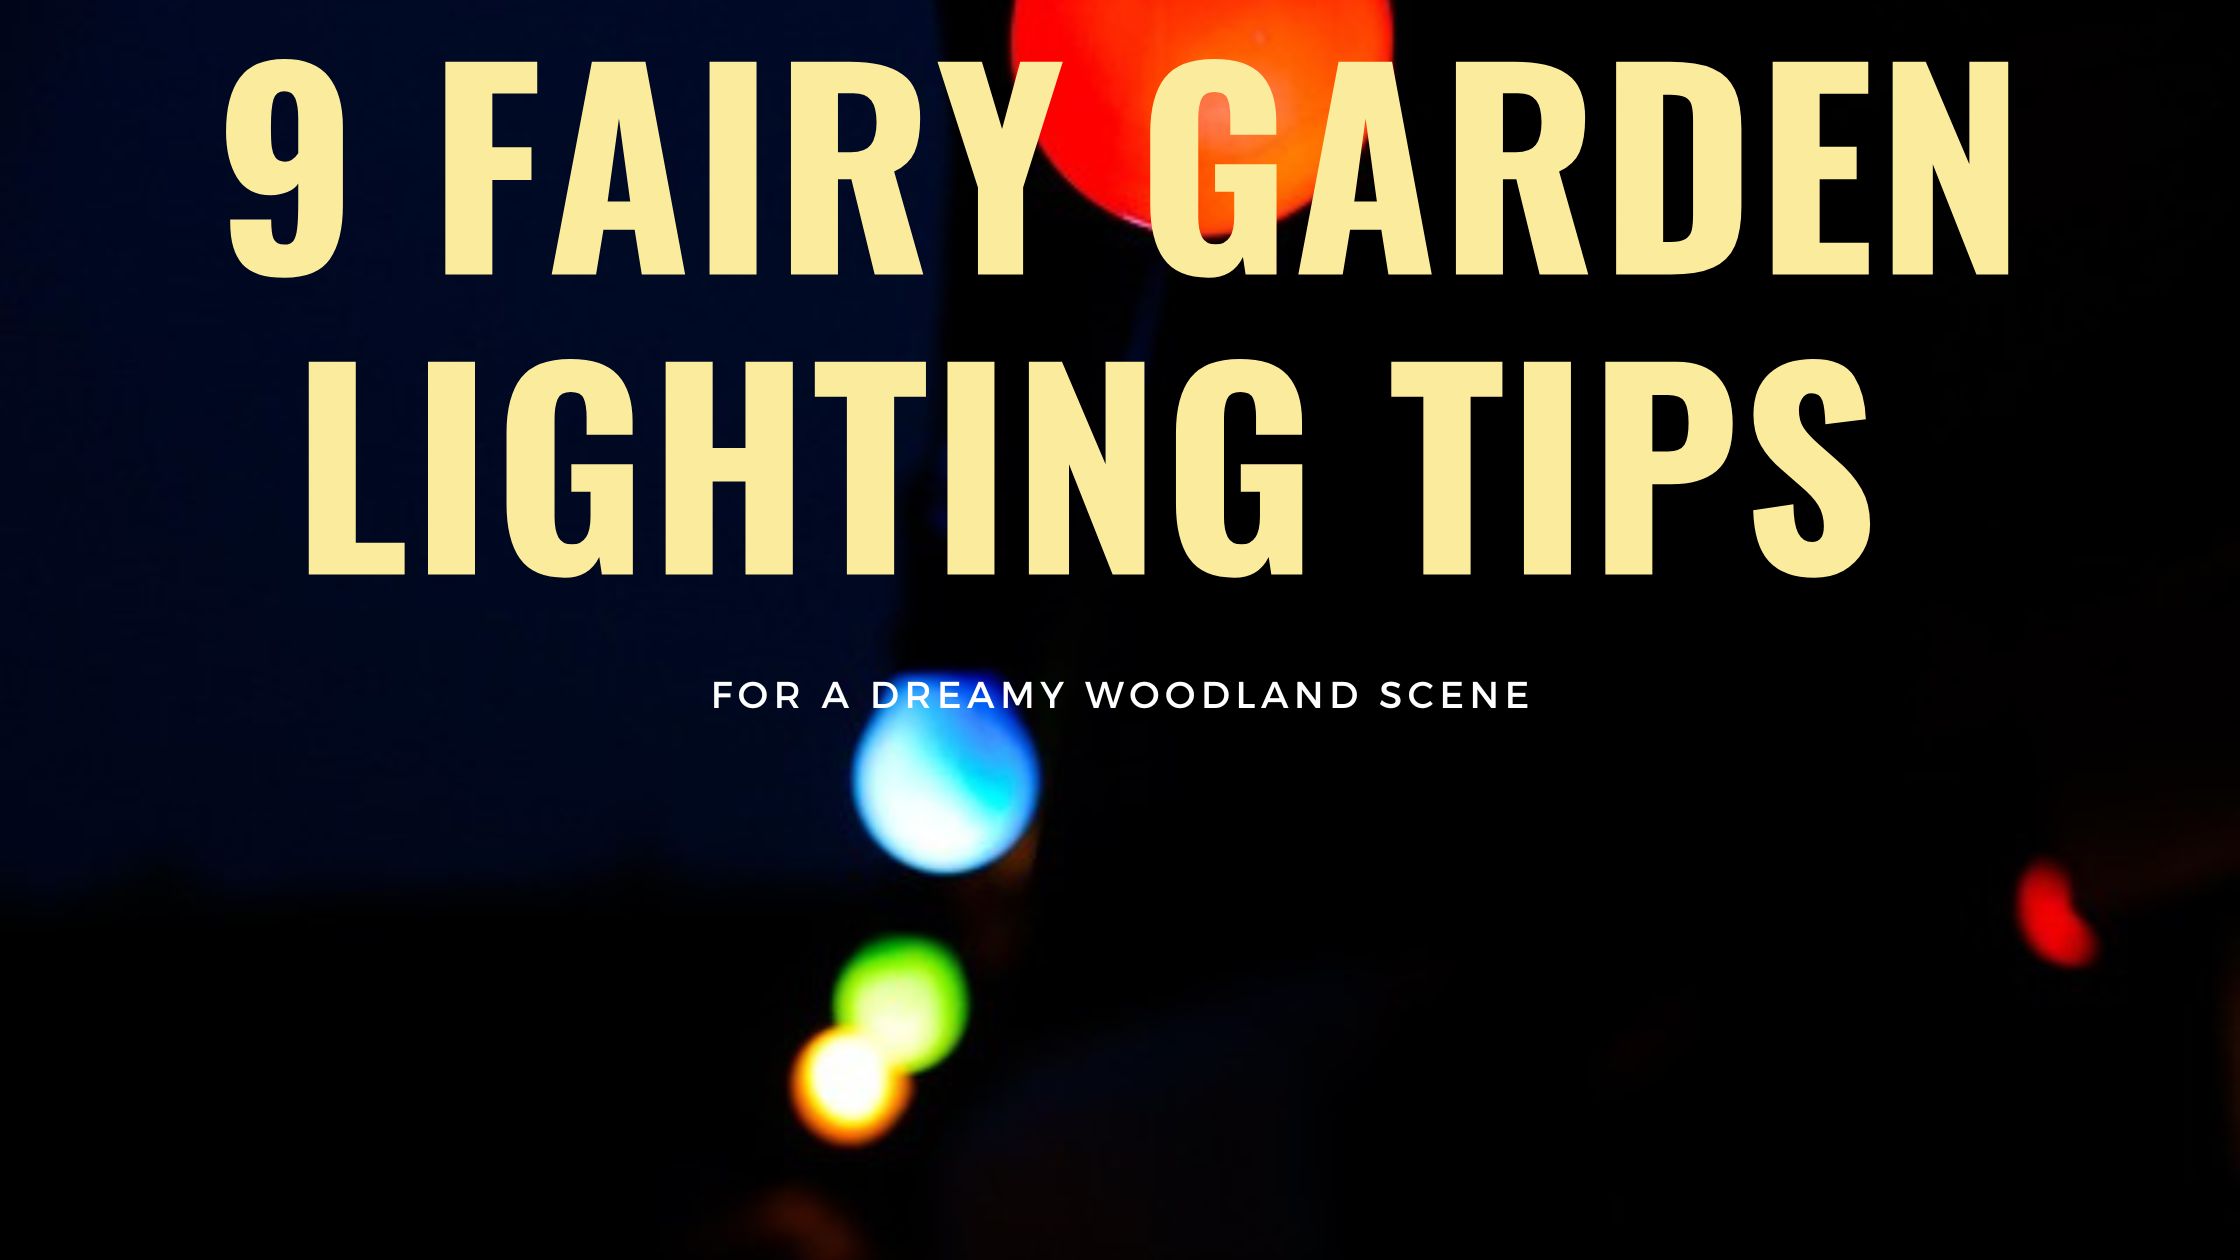
15 Magical Lighting Ideas for a Dazzling Glow Garden
Glow gardens are fast becoming one of the most enchanting trends in outdoor décor. With a blend of creativity, eco-conscious lighting, and visual drama, they transform any garden into a fairytale scene after dark. Whether you’re looking to add a soft twinkle to your backyard or create a full-on luminous landscape, the right lighting makes all the difference. In this article, we’ll explore 15 magical lighting ideas that will elevate your glow garden into a dazzling nighttime escape..
💡 15 Magical Lighting Ideas for a Dazzling Glow Garden

- Solar-Powered Fairy Lights
Drape fairy lights over shrubs, fences, or pergolas. They charge during the day and glow beautifully at night. - Glow-in-the-Dark Pebbles
Line your garden paths or flower beds with photoluminescent stones for a subtle glowing trail. - Mason Jar Lanterns
Add LED lights or tea candles inside mason jars for charming, rustic garden ambiance. - Color-Changing LED Orbs
Place waterproof LED orbs around ponds or flower beds to create a soft, colorful glow. - Tree-Wrapped String Lights
Wrap trees with string lights from the trunk up to the branches for a magical, woodland feel. - Hanging Solar Lanterns
Suspend lanterns from tree branches or shepherd’s hooks for elegant, floating light sources. - LED Garden Stakes
Choose flower- or butterfly-shaped solar stakes that light up to accent pathways and borders. - Glow Paint Planters
Use glow-in-the-dark paint on planters and pots to create subtle, luminous outlines at night. - Under-Bench Lighting
Add LED strip lights beneath seating areas for a cozy, hidden glow. - Floating Pool Lights
If you have a pond or pool, floating solar lights create a surreal, dreamlike effect. - Upcycled Chandelier Garden Lights
Repurpose old chandeliers with solar bulbs and hang them from trees for vintage flair. - Fiber Optic Grass Lights
These mimic swaying grass but light up in vibrant colors for a high-tech garden vibe. - Wall-Washing Spotlights
Add soft spotlights along walls or fences to showcase textures and plants after dark. - Moonlight Globes
Install soft-white glass globes around the garden to mimic the moon’s glow. - Motion-Activated Glow Lights
For added safety and interactivity, install motion-sensor lights near pathways or entrances.
📈 Trending Now: Glow Garden Styles in 2025
Glow gardens are no longer just novelty additions—they’ve become a stylish statement in modern landscaping. In 2025, the trends are shifting toward smarter, more sustainable, and visually immersive designs. Here’s what’s currently glowing up in backyard spaces around the world:
- Smart-Controlled Lighting Systems
App-based controls, timers, and voice-activated features (via Alexa or Google Home) allow homeowners to adjust garden lighting remotely for convenience and efficiency. - Solar-Powered Everything
Solar lighting technology has advanced significantly, with more powerful batteries and brighter, longer-lasting LEDs dominating the market—ideal for eco-conscious gardeners. - Bioluminescent Landscaping
A futuristic trend, using glow-in-the-dark plants, moss, and even genetically modified bioluminescent organisms to create a surreal natural glow without electricity. - Neon Accent Pathways
Bright, colorful LED strips embedded into walkways and decks are becoming popular for creating striking nighttime garden borders and paths. - Interactive Light Installations
Motion-activated or sound-responsive lights add fun and interactivity, especially in kid-friendly or entertainment-focused outdoor spaces. - Minimalist Zen Glow Zones
Less is more in 2025. Clean lines, monochromatic lighting, and hidden light sources create peaceful, meditative outdoor zones perfect for evening relaxation. - DIY Upcycled Lighting Décor
Gardeners are getting crafty with recycled materials—turning old jars, bottles, tin cans, and even bicycle wheels into custom solar-powered lighting elements. - Themed Glow Gardens
Fairy tale, underwater, or galaxy-themed gardens using carefully selected plants, lighting colors, and props are trending among hobbyists and designers alike. - Floating Light Features
Pools, ponds, and fountains are being transformed with floating orb lights, glowing lily pads, and submerged LEDs for dramatic water reflections. - Hybrid Day-Night Garden Planning
Landscape architects are now designing gardens that look beautiful both in sunlight and moonlight—balancing plant selection and lighting layouts to wow around the clock.
💡 Suggestions for Best Results
To ensure your glow garden doesn’t just look good but functions beautifully night after night, here are some practical suggestions to guide your lighting design and installation:
- Plan with a Purpose
Before placing lights randomly, map out your garden’s layout and identify key focal points like trees, walkways, flower beds, or water features that deserve visual emphasis. - Use a Mix of Lighting Types
Blend ambient, task, and accent lighting to create depth and mood. A layered lighting strategy makes your glow garden feel immersive and magical. - Choose Warm Light Tones
Stick to soft white or warm yellow LEDs for a cozy, welcoming glow. Harsh blue or cool white lights can make your garden feel sterile or overlit. - Go Solar When Possible
Opt for solar-powered lights to reduce energy bills and eliminate messy wiring. Place them in spots with maximum sun exposure during the day for best performance. - Test Placement at Night
Set up temporary lighting during the evening to see how shadows and brightness affect the look before permanently installing fixtures. - Avoid Light Pollution
Direct lights downward or use shielded fixtures to reduce glare and avoid disturbing neighboring properties or wildlife. - Keep Spacing Natural
Don’t overcrowd lights. Allow natural darkness between illuminated zones to maintain contrast and drama. - Highlight Textures
Use uplighting or grazing techniques on stone walls, tree bark, or tall grasses to showcase textures and enhance dimension. - Maintain Regularly
Clean solar panels and lenses monthly, and check for battery health or corrosion in fixtures. A well-maintained glow garden lasts longer and shines brighter. - Add Timers or Sensors
Automate your lighting with motion sensors, dusk-to-dawn sensors, or smart timers to save energy and add convenience.
✅ Conclusion
A glow garden isn’t just about lighting; it’s about creating a mood. With thoughtful placement, sustainable technology, and a touch of creativity, you can design an outdoor space that looks just as stunning at night as it does during the day. Use these 15 magical lighting ideas to turn your garden into a mesmerizing retreat that sparkles long after the sun goes down.
🔍 References
- Better Homes & Gardens – Garden Lighting Tips
- Garden Design Magazine – Outdoor Lighting Trends
- Solar Reviews – Best Outdoor Solar Lights
- Pinterest – Glow Garden Inspirations
❓ Frequently Asked Questions (FAQs)
Q1: Are glow gardens expensive to maintain?
A1: Not really. Using solar lights and LED technology helps keep energy costs low and maintenance minimal.
Q2: How long do glow-in-the-dark pebbles last?
A2: High-quality photoluminescent stones can glow for 6–8 hours after a full day of sunlight and last for years.
Q3: Can I make glow lighting safe for pets and kids?
A3: Yes! Opt for enclosed lights or smooth glow elements like solar stakes and orbs that are non-toxic and cool to touch.
Q4: What’s the best time to install garden lighting?
A4: Install during late afternoon so you can test your lighting setup after sunset.
Q5: Do I need an electrician for garden lighting?
A5: Not always. Most solar and low-voltage lights are DIY-friendly. However, for complex wired setups, a professional is recommended.
